Brewing The Nut Brown
— take 2 🙁
After a glorious failed attempt at brewing the Nut Brown Recipe I took a stroll through the world of mash temperatures and the debates around it. On my first attempt my mash temperatures were running from 70-72 deg C and caused a lot of un-fermentable sugars ending with a FG of 1032. Down the drain she went.
Armed with two thermometers for the second attempt started the mash at a very constant 64-66 deg for 90mins. The oats where roasted in the oven for a few minutes in a hope to acheive a roasty malty flavour to the beer without overwhelming the taste.
Got a very good and efficient boil. 2 Minutes from flame out I got a little creative (thanks to the all amarillo ale from a few months back) and decided to spice it up with some Cinamon. Added 3 heaped teaspoons of cinamon powder into a small cup of boiling water and added to the boil. The smell was awesome and would hopefully sustain throughout the fermentation.
Into the fermentor and fermented away vigorously boiling after only a few hours thanks to the 2l starter I prepared with the US S04 yeast.
Ended with a FG of 1015 giving me an estimate alc vol of 5.7%.


First BIAB
With all equipment sourced and tested we took on the task of the first biab.
The recipe was planned something like this on beersmith:
4KG Pale Malt
500g Caraaroma
60g East Kent Goldings Hops @ 60min
30g East Kent Goldings Hops @ 1 min
We decided to do a 90 min boil and 90 min mash instead. Strike temp was 66 deg c and mash temp was maintained at 65 deg c for the full 90min.
We started with 28l of water and at the end of the mash sparged with 2l of boiled water. After the mash the bag was raised and we started the “to squeeze or not to squeeze” debate. We saw by gently squeezing the bag a huge amount of wort came out (almost concentrated) and decided to get everything out.
Pre boil gravity was 1048.
When we started the boil we noticed that the urn self regulates at boil temp so the temp fluctuated a bit with the boil 🙁
Added the hops to the biol as per recipe. After the boil we used the self made chiller with iced water and got the wort chilled fro boiling temp to pitch temp in +- 20mins (very chuffed with this!! )
Post boil gravity was 1055.
We strained the cooled wort to the fermenter through a strainer and cloth to try and catch the hops and grain parts. Turned out to be quite a battle as the hops clog up the strainer very quickly risking contamination with the repeated rinsing of the strainer etc. Will definitely rather make a hop bag next time.
Ended with roughly 22l of wort.
Pitched the 1l starter of US-05 at 24deg and off she went. Only the next day we realized we got the recipe wrong and added 1kg of caraaroma instead of the prescribed 500g. No wonder the gravity readings were so high!


Biab – the next step
The next step – Brew in a Bag! So we have the extract brewing an kegging mastered. Doing a biab allowes you to fully customize your beer and experiment with all the ingredients from scratch in an everlasting attempt to create the perfect home brew beer!!!
The equipment:
– Got a 50l electric urn
– Digital temperature controller calibrated to be mounted on the outside of the urn. This will help with the mashing step to keep the wort at a constant temperature by switching the urn on and off at the external power.
– Strainer to cover the element of the urn so the bag wont touch and burn
– Home made inmersion chiller using 3/8 copper tubing, 15m in lenght. Coiled around a corny keg and hooked up to a small pond pump which will pump ice water through the chiller to cool down the wort to pitching temperature after the boil
– Voil cloth to make a bag with (still a bit nervous about this)


Coopers fruit salad
Started a coopers fruit salad.
1x australian pale ale kit
1kg dme
50g fruity hops (cascade)
Steeped the hops for 30mins. Mixed it all up and pitched the 1 day old yeast starter (muntons yeast)
Going to transfer to secondary in a few days and dry hop another 50g cascade hops and leave for a week or two.


Starting the right way
After a few stuck brews i took B1’s advice and made a proper yeast starter. With the home made stir plate he made it works like a charm!!
1l of boiled water with 100g dme. Boiled 2 mins and cooled down to 22 deg. Pitched the yeast and let the stir plate do the rest. Going to leave it stirring for a day before starting the next brew!


Homemade Secondary
Yay!
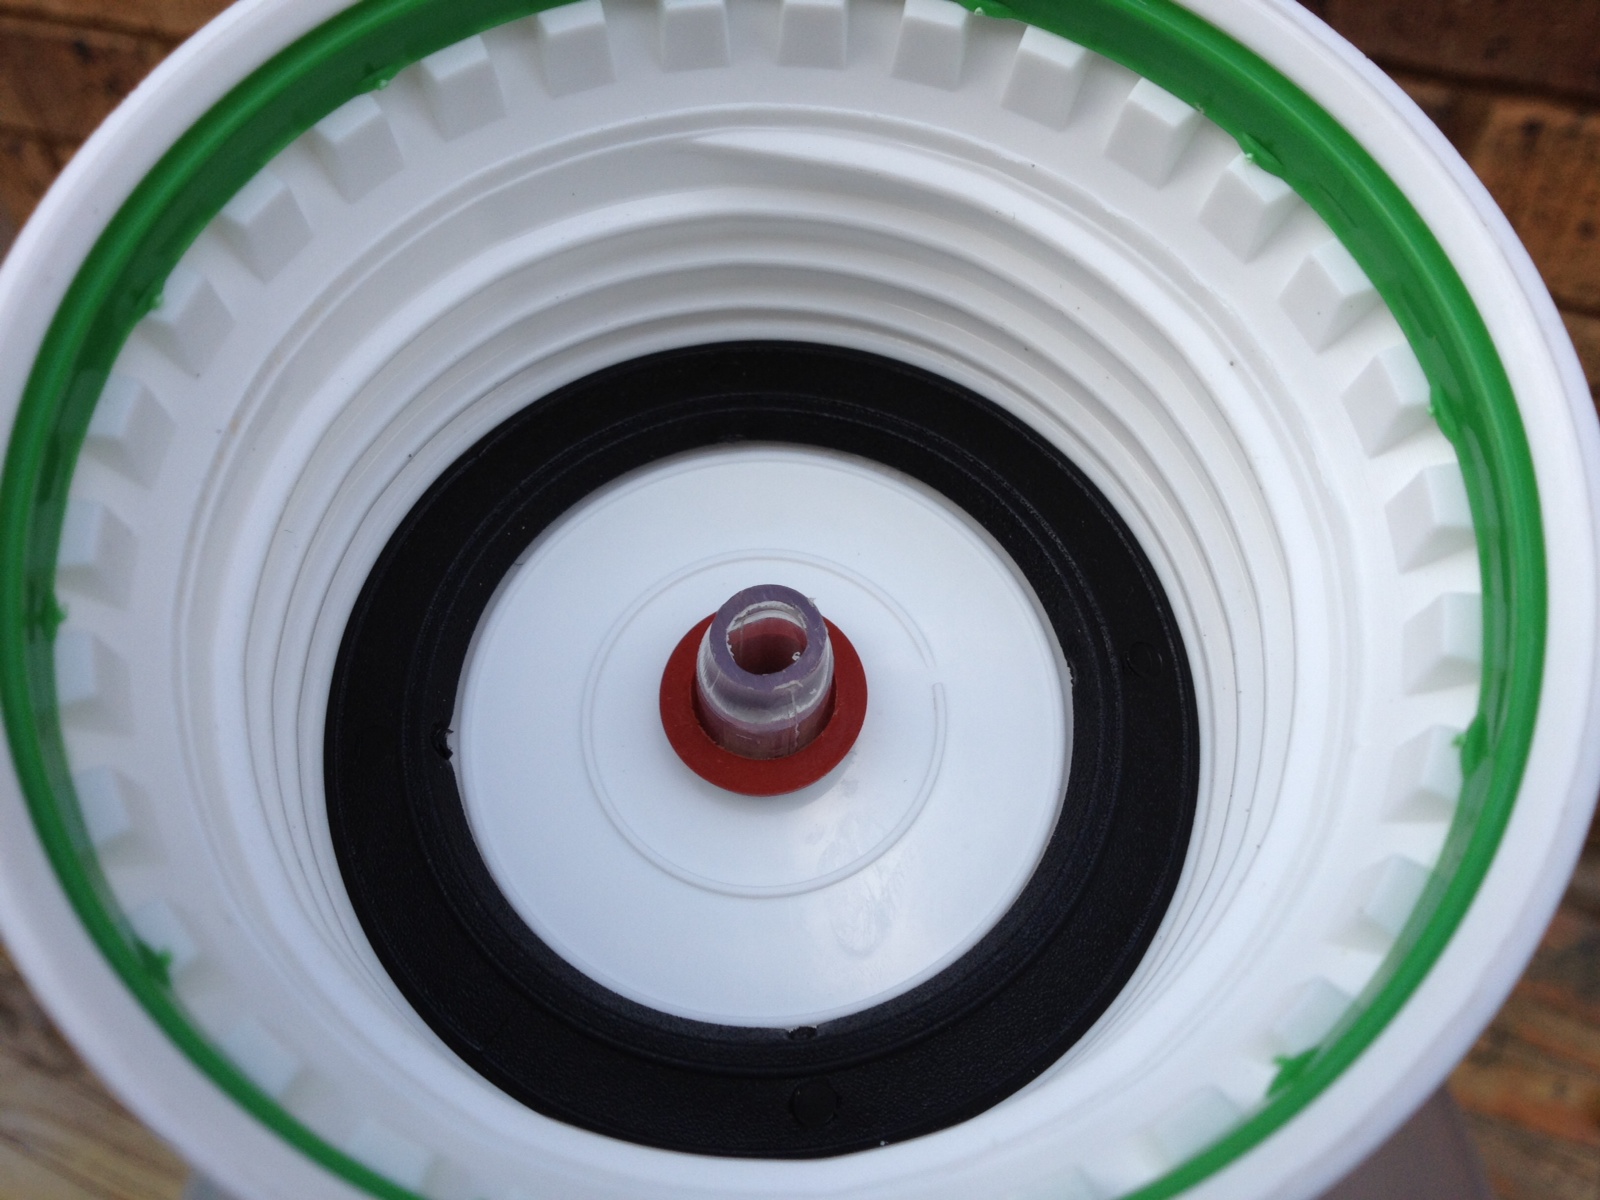
The carboys arrived and they are perfect! Only thing is that we can’t find a 50mm bung as the bottle necks are huge!
So I did a little DIY to get the airlock into the fermenter using the original cap 🙂

Cascadian Dark Ale
As I have said before, I love dark beer, and I have been fascinated by an American style beer called a Cascadian Dark Ale.
Many of the ingredients are almost impossible to source in South Africa, so when I found an example of the style, being brewed with Coopers Kits, I had to try it. This beer finished at 1056. Yeast was pitched at 21 deg Celsius.
The recipe requires:
- Coopers Dark Ale Kit x 2
- Coopers Light Dry Malt x 1
- Cascade Hops
- Summit Hops
- Safale US-05 Yeast
The method requires the following:
1. Two days before brew day create a yeast starter using the Safale US-05. I prepared a 1.2 litre starter as it would end as a high gravity beer.
2. On brew day, add both cans of Coopers dark ale to warm water.
3. Sterilise all equipment properly.
4. Add the DME to a large pot, and add 2 litres of water, and bring to the boil.
5. Add the two cans to the fermenter.
6. Add 30g each of the Cascade hops and summit, and boil for 5 minutes.
7. Strain the boiled DME / Hops into the fermenter, and rinse with clean water.
8. Top up the fermenter to the 23 Litre mark.
9. Pitch both the yeast starter and both the packets of yeast.
10. Fit the airlock and seal the fermenter.
Below are some pictures from brew day.


Duvel taste test
Been a week since bottling the duvel. Open one up at room temp and it has produced a lot of c02!! Cleared up icely with a lot of sediment. Tasting a lot better now. Malty with a strong hop flavour and aroma with a nice hint of honey to finish off. Definitely going to do another soon!

Duvel finished!
Duvel finished. Spend almost 2 weeks in primary. SG 1050 FG 1010.
